Recent Posts
Featured Posts
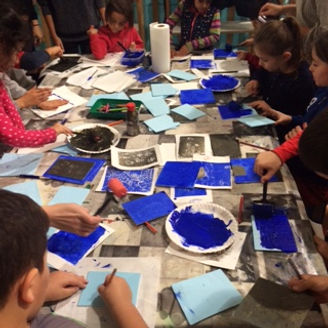
Yesterday I helped with an art workshop at the refugee shelter in Spandau- the activity of the day was... print making! The prints were fun and easy to make (but MESSY), and the results came out really well.

The kids enjoyed it so much that they wanted to keep making more and more prints, so we had to start re-using the backs of pieces of foam. So my two big tips for hosting group print-making workshops are-- bring a LOT of materials. And do NOT not leave the paint rollers unsupervised, because the kids love to squeeze them and get paint all over their hands!
You will Need:
x1 white piece of paper
x1 thin piece of foam
x1 pen or sharp object
paints of your choice
paint rollers (we recommend one for each type of paint)
paper plates (one per type of paint)
Method:
Draw a rough sketch of your design onto the piece of foam.
Take your pen (or similar pokey object), and poke/carve your design into the foam along the lines that you have made.
Add extra texture to your design as you see fit- you do not have to stick rigidly to your initial sketch.
Squeeze your paint onto a paper plate and dip your paint roller into the paint.
Roll the roller all over your piece of foam- making sure everywhere is covered with paint. (Remember, do not roll too much or the paint will get into the cracks and holes of your design, and you will lose definition in your overall print!)
Carefully press your foam face-down onto the white piece of paper. Hold down and press to make sure your whole design will come out
When you feel ready, peel off the foam, revealing your amazing print!
We hope you enjoyed this weeks art idea. Make sure you check out our weekly craft pins on our Pinterest page, and for more photos from our Spandau art workshop, please visit our Instagram page.
Peace and love
PTC xoxo